

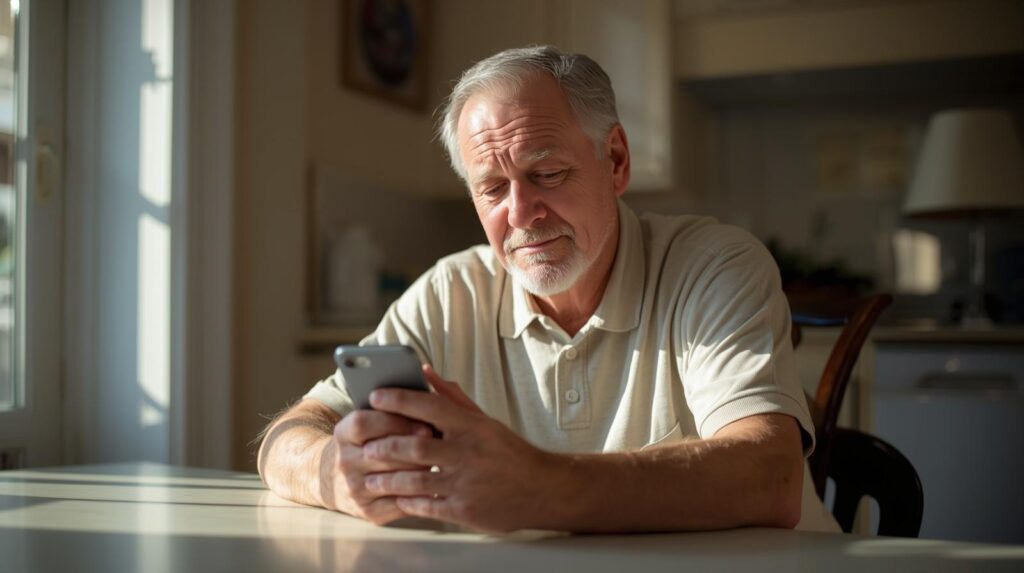
A few years ago, I helped my dad set up his new iPhone. We went through the basics — Wi-Fi, email, his favorite apps. Before I left, I asked him, “Do you have an emergency contact in here?”
He nodded and showed me his contacts app. There it was: ICE — Son (Me), with my phone number.
The problem? That setup is almost completely useless to a first responder.
His phone had a passcode. It was locked. And from a locked screen, a paramedic or police officer cannot open the contacts app, scroll through a list, and look for a name starting with “ICE.” They don’t have time for that — and in many situations, they’re not even supposed to unlock someone else’s device.
My dad thought he was prepared. He wasn’t. And according to CDC data, over one year alone, 1.6 million emergency room patients could not provide contact information because they were incapacitated. CDC The contacts-app method doesn’t solve that problem.
Here’s what actually works — and how to set it up correctly on both iPhone and Android.
✅ Quick Summary
| Method | Accessible from locked screen? | Recommended? |
|---|---|---|
| “ICE” label in contacts app | ❌ No — phone must be unlocked | Not sufficient alone |
| iPhone Medical ID (Health app) | ✅ Yes — visible without unlocking | ✅ Yes |
| Android Emergency Information | ✅ Yes — accessible from lock screen | ✅ Yes |
| Samsung Emergency SOS contacts | ✅ Yes — sends SOS alert automatically | ✅ Yes |
| Physical ICE card in wallet | ✅ Yes — always accessible | ✅ Good backup |
Why the “ICE” Contact in Your Address Book Isn’t Enough
The ICE program was conceived in the mid-2000s and promoted by British paramedic Bob Brotchie in May 2005. It encourages people to enter emergency contacts in their mobile phone address book under the name ‘ICE’. Wikipedia At the time, phones didn’t have lock screens. A paramedic could pick up the phone, open contacts, and call “ICE Mom” in seconds.
That world is gone. Today, virtually every smartphone has a passcode, Face ID, or fingerprint lock — and a locked phone is a closed book to anyone but the owner.
For security purposes, many mobile phone owners now lock their mobiles, requiring a passcode or PIN to be entered in order to access the device. This hinders the ability of first responders to access the ICE phone list entry. Wikipedia
Labeling a contact “ICE” in your address book is still worth doing — it costs nothing and helps in situations where your phone is unlocked. But it should never be your only layer. The real fix is getting your emergency information visible on the lock screen itself, where anyone can see it without unlocking the device.
Both iPhone and Android make this possible. Most people just don’t know the feature exists.
The Right Way: iPhone Setup (Medical ID)
Apple’s solution is the Medical ID inside the Health app. When set up correctly, a first responder can access your emergency contacts and medical information directly from your locked iPhone — no passcode needed.
I set this up for my mom after my dad’s ICE scare, and it took about four minutes.
Step-by-step: iPhone Medical ID
- Open the Health app (comes pre-installed on all iPhones)
- Tap your profile photo in the top right corner
- Tap Medical ID
- Tap Edit (top right)
- At the very top, make sure “Show When Locked” is toggled on — this is the critical step most people miss
- Fill in your name, any medical conditions, allergies, medications, and blood type
- Scroll down to Emergency Contacts → tap the + button
- Select a contact from your list and add their relationship (e.g., “daughter,” “husband”)
- Add a second contact if possible
- Tap Done
How a first responder accesses it
From your locked iPhone screen, they tap Emergency in the bottom corner, then tap Medical ID in the bottom left of the dial screen. Your information appears immediately — no passcode required.
Tap “Emergency” in the corner to bring up the SOS keypad — you’ll see the “Medical ID” link in the bottom left. Press this to bring up your ICE info as well as emergency numbers that can be tapped and dialed directly from that screen. Jelkslaw
⚠️ The one setting that breaks everything: If “Show When Locked” is turned off, none of this works. First responders will see nothing. Double-check this toggle every time you update your phone.
The Right Way: Android Setup
Android handles this through Emergency Information, accessible from the lock screen via the emergency dial screen — similar to iPhone.
Step-by-step: Android (Google Pixel / most Android phones)
- Open Settings
- Tap Safety & emergency (on older versions: About phone → Emergency information)
- Tap Emergency information or Edit information
- Add your name, blood type, allergies, medications, and any medical notes
- Tap Add contact under Emergency contacts and select the people you want listed
- Save
To access it from the lock screen: tap Emergency on the dial screen, then Emergency information at the bottom.
Step-by-step: Samsung Galaxy (extra layer)
Samsung has two separate systems, and setting up both gives you the most complete coverage.
System 1 — Emergency Information (for first responders to read):
- Settings → Safety and emergency → Emergency information
- Add your medical details and emergency contacts
- This appears on your lock screen emergency dial
System 2 — Send SOS Messages (for alerting contacts automatically):
- Settings → Safety and emergency → Send SOS messages
- Toggle on, then add up to four contacts
- When you click the power button three or four times, your emergency contacts will receive an SOS message, links to a map, an audio clip, and photos if those features have been activated. Samsung Business Insights
These are two different tools. System 1 helps first responders find your contacts. System 2 automatically alerts those contacts when you trigger SOS. Both matter, and most Galaxy users only know about one of them.
What to Tell Your ICE Contact
An ICE contact should be someone who can be reached if a patient becomes sick or injured to such an extent that they are unable to communicate. The contacts should be made fully aware that they have been designated as such and should have telephone numbers for other individuals to be contacted. Palm Beach
This part gets skipped constantly. Your ICE contact needs to know:
- That they’re listed as your emergency contact
- Your primary doctor’s name and phone number
- Any critical medications you take regularly
- Any allergies, especially to medications
- Your insurance information or where to find it
- Whether you have an advance directive or living will
The CDC’s guidance on this is worth remembering: tell your ICE contact your MAD information — Medications, Allergies, Doctors. Emergency personnel can learn a bit about you and make a call to your loved ones straight from your phone. CDC But only if your contact already knows these details to share when they get that call.
The Physical Backup: Still Worth Carrying
No matter how well your phone is set up, a dead battery or shattered screen makes all of it irrelevant. An ICE card containing the same emergency contact information should be carried in the person’s wallet. Palm Beach
A basic ICE wallet card should include:
- Your name and date of birth
- One or two emergency contact names and phone numbers
- Blood type
- Major medical conditions or medications
- Allergies
You can print a simple card at home, laminate it, and keep it behind your driver’s license. Takes ten minutes and requires zero technology.
A Quick Checklist to Verify Your Setup
Before you consider this done, run through these five checks:
- iPhone only: Open Health → Medical ID → confirm “Show When Locked” is green
- Lock your phone and tap Emergency — can you see your medical info and emergency contacts without unlocking? If not, something is wrong.
- Do your listed contacts know they’re listed? Call them and confirm.
- Is your medical information current? Medications and allergies change. Review it once a year.
- Do you have a physical backup in your wallet? If not, make one.
I ran my mom through this checklist after setting up her Medical ID. On step 2, the information showed up perfectly. She was genuinely surprised that the phone could do that from the lock screen. “I had no idea it worked this way,” she said. Neither do most people — which is exactly the problem.
FAQ
Q. Can first responders call my ICE contact directly from my locked phone?
On iPhone, yes — the Medical ID screen shows your emergency contacts with a tap-to-call button, no passcode needed. On Android, the emergency information screen similarly displays contact numbers that can be dialed directly from the lock screen emergency menu.
Q. Should I list my doctor as an ICE contact?
Your doctor’s office number is worth including in your Medical ID notes or on your physical card, but your primary ICE contacts should be people who can make decisions on your behalf — a spouse, adult child, or trusted family member. They’ll need to coordinate with doctors anyway, and they’re more likely to answer an unexpected call at any hour.
Q. How many ICE contacts should I have?
Two is the minimum. One person might be unreachable during an emergency — traveling, in a meeting, or simply not near their phone. If you have multiple contacts, label them ICE1, ICE2, etc. Palm Beach On iPhone Medical ID and Android Emergency Information, you can add multiple contacts. Samsung’s SOS system supports up to four.
Bottom Line
The “ICE” label in your contacts app is a twenty-year-old idea that doesn’t hold up in a world of locked smartphones. It’s not wrong — it’s just incomplete.
The right setup takes about five minutes: Medical ID on iPhone, Emergency Information on Android. Add your emergency contacts there, turn on “Show When Locked,” and verify it works from your actual lock screen. Then call the people you listed and make sure they know what they’re responsible for.
That’s it. Five minutes. And it’s the kind of thing that, if it ever matters, will matter enormously.
You Might Also Like
- How to Set Up Emergency Contacts on iPhone for Seniors (Medical ID & SOS Guide)
- Does Your Emergency Contact Get Notified Automatically? The Truth About SOS Alerts

스마트폰과 IT 기기를 오랫동안 직접 구매하고 사용해온 일반 사용자입니다.
화려한 스펙보다 “실제로 쓸 만한가”를 더 중요하게 봅니다.
갤럭시와 아이폰을 병행 사용하면서 느낀 점, 설정하면서 막혔던 것들,
부모님 폰 세팅해드리며 깨달은 것들을 솔직하게 정리하고 있습니다.
특히 스마트폰을 어렵게 느끼는 분들, IT 초보자, 부모님 세대를 위한
쉽고 실용적인 가이드에 집중합니다.
“나도 해봤는데 이렇더라” — 그 한마디가 이 블로그의 시작이었습니다.
📩 문의 및 제보: kim.wasp@gmail.com