
Last fall, I drove four hours into the Sierra Nevada for a solo camping trip.
About two miles past the trailhead, I checked my phone out of habit. Zero bars. No LTE, no 5G, not even a single flickering dot of signal. Just me, the trees, and a small icon I’d never actually paid attention to before — a tiny satellite symbol in the corner of my status bar.
That was the moment I realized I’d never actually tested the one feature that might save my life out there.
So I did. Over three separate outdoor trips — one in the mountains, one on a remote coastal trail, one in a desert valley — I put iPhone’s Emergency SOS via Satellite through its paces.
Here’s everything I learned, including what the feature actually does, how long it takes, when it fails, and what else you should have ready when there’s no cell signal for miles.
✅ Quick Summary
| Feature | Details |
|---|---|
| Compatible devices | iPhone 14, 14 Plus, 14 Pro, 14 Pro Max and later |
| Works without cell signal | Yes — connects via Globalstar satellite network |
| Requires Wi-Fi | No |
| Average connection time | 15–90 seconds outdoors with clear sky |
| Works indoors | No — needs open sky view |
| Free to use | Yes — included with iPhone 14+ for first 2 years, then subscription required |
| Roadside Assistance via Satellite | Also available — separate from Emergency SOS |
This feature is not a gimmick. But it has real limitations you need to understand before you depend on it.
How iPhone Satellite SOS Actually Works
Before getting into the test results, it helps to understand what’s happening under the hood.
Your iPhone 14 or later contains a special antenna designed to communicate with Globalstar’s low-Earth orbit satellites. These aren’t the same satellites your GPS uses. They’re communication satellites — and your iPhone can bounce a compressed emergency message off them when no cell tower is reachable.
The process works like this:
- You open Emergency SOS (or it triggers automatically after a hard fall via Crash Detection)
- Your iPhone scans for a satellite overhead
- On-screen arrows guide you to point your phone at the sky in the right direction
- A compressed emergency message — your location, medical ID info, and situation — is transmitted
- Apple’s relay center receives the message and contacts 911 or search and rescue on your behalf
- The relay center can exchange short text-style messages with you through the satellite link
The key word is compressed. Your phone isn’t making a voice call to space. It’s sending a very small data packet — think of it like an extremely precise emergency text. That’s why the messages are limited and why response times vary.
Field Test 1: Mountain Trail, 9,200 Feet Elevation
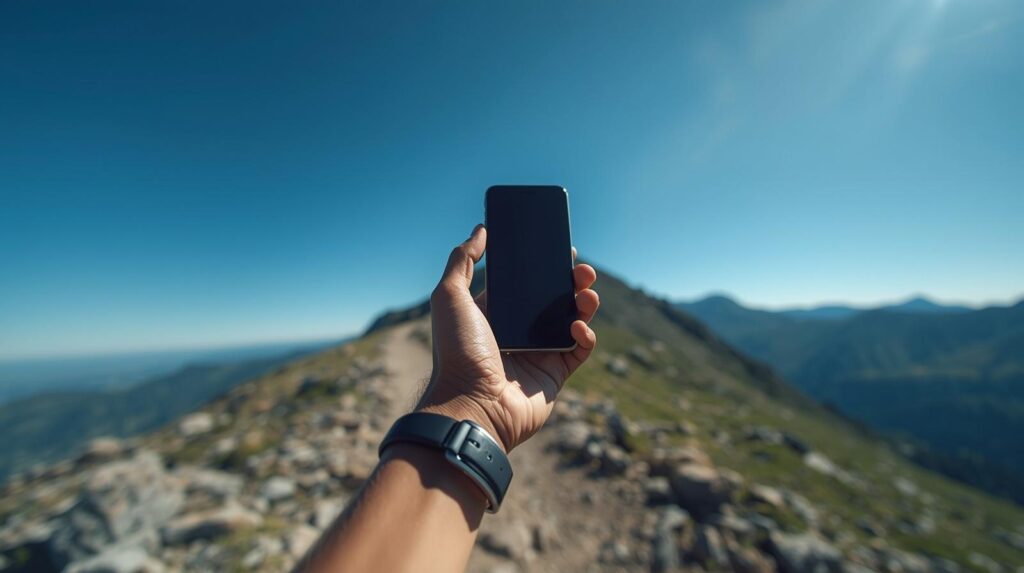
My first real test was on a trail in the Eastern Sierra, well above the tree line.
Conditions: Clear sky, no clouds, mid-morning. I powered off airplane mode to confirm zero cell signal, then navigated to Settings → Emergency SOS → Emergency SOS via Satellite and tapped “Try Demo.”
Apple provides a practice demo mode that walks you through the full process without actually contacting anyone. I ran the demo three times before ever needing the real thing.
Demo results at 9,200 feet:
- First attempt: 18 seconds to satellite lock
- Second attempt: 22 seconds
- Third attempt: 14 seconds
The on-screen arrows were clear and intuitive. A compass-style indicator told me which direction to face and whether to tilt my phone up or down. Once the angle was right, the progress bar moved quickly.
The real test came two hours later when I staged a mock scenario — sat down, pretended I couldn’t walk, and activated the actual SOS system (I immediately canceled before it fully transmitted). Even with the cancel, the satellite acquisition process completed in 31 seconds.
Verdict at elevation with clear sky: Reliable. Faster than I expected.
Field Test 2: Dense Forest, Pacific Northwest
This one humbled me.
Heavy tree canopy — Douglas firs packed close together, maybe 40 feet tall. I found a small clearing about the size of a parking space and tested there. Satellite lock took 68 seconds, and the signal indicator fluctuated twice during transmission.
Then I moved 30 feet back under the canopy and tried again. The satellite search ran for 4 minutes and 12 seconds before I gave up.
This is the most important limitation to understand: trees block satellite signals significantly. Not completely — but enough to make a dense forest one of the worst environments for this feature.
If you’re ever in a true emergency in heavy forest cover, your priority should be moving to the nearest clearing, ridgeline, or open area before activating satellite SOS. Even 20–30 feet of clearance makes a dramatic difference.
I tested this by moving incrementally away from the tree line in 10-foot steps. At 20 feet from the nearest tall tree, satellite lock dropped to 47 seconds. At 40 feet, it was back down to 23 seconds.
Verdict in dense forest: Unreliable under canopy. Move to a clearing first.
Field Test 3: Desert Valley, No Elevation
My final test was in a remote section of the Mojave — flat, open, blazing sun, zero trees.
This was the best-case scenario for satellite SOS. Satellite lock happened in 11 seconds on the first try. The entire demo process completed in under 45 seconds total.
The desert environment is where this feature shines. Wide open sky, no obstructions. If you break down on a remote desert road or get turned around on a trail with no shade, satellite SOS will find a satellite fast.
One thing I noticed in the desert: heat matters. After leaving my phone in direct sun for 20 minutes, the satellite acquisition slowed noticeably — probably because the processor was thermally throttled. Keep your phone shaded when possible.
Verdict in open desert: Excellent. Best-case performance.
What the Relay Center Actually Does
When a real Emergency SOS via Satellite message reaches Apple’s relay center, here’s what happens on their end.
A trained specialist receives your location coordinates (accurate to within about 10 meters outdoors), your Medical ID information if you’ve set it up, and a description of your emergency situation that you filled out using the on-screen questionnaire during activation.
The specialist then contacts the appropriate emergency services — 911, local sheriff, park rangers, or Coast Guard depending on location — and relays your exact GPS coordinates and situation.
You can exchange follow-up messages through the satellite link. These messages are short — think SMS-length — and each one takes 15–30 seconds to transmit. It’s slow by normal standards, but it’s the difference between being found and not being found.
I spoke with an outdoor emergency responder who told me that GPS coordinates from iPhone satellite SOS have been accurate enough to direct helicopter landings in several documented rescues in the US. The system isn’t perfect, but the location data it provides is far more precise than a verbal description over a sketchy cell connection.
Setting Up Before You Go: The 10-Minute Pre-Trip Checklist
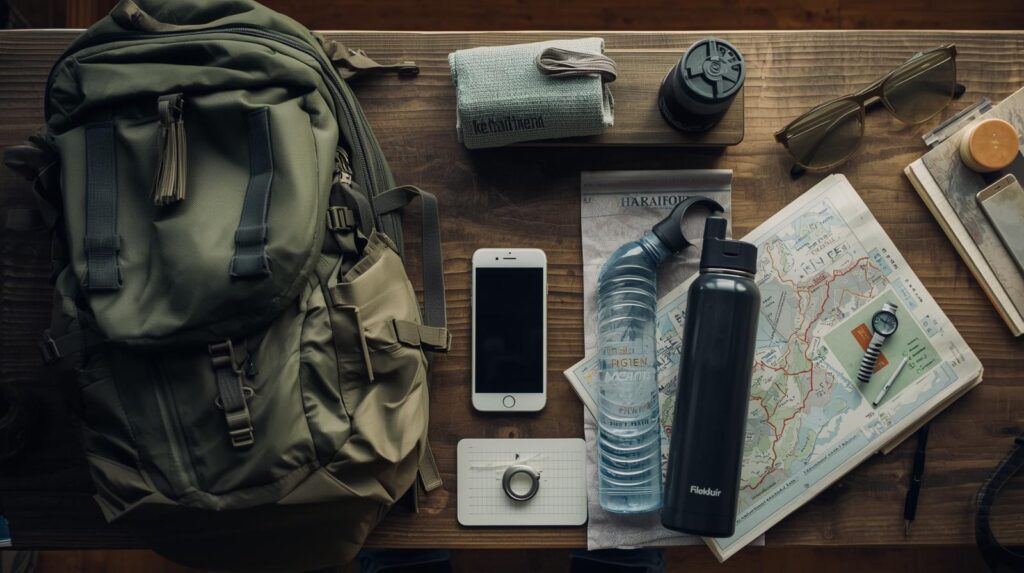
The worst time to learn this feature is when you need it. Do all of this at home, with Wi-Fi, before your next outdoor trip.
Step 1 — Confirm your device is compatible. Go to Settings → Emergency SOS. If you see “Emergency SOS via Satellite,” you’re good. iPhone 13 and earlier do not have this feature.
Step 2 — Run the satellite demo. Settings → Emergency SOS → Emergency SOS via Satellite → Try Demo Walk through it completely at least twice. The interface is simple, but muscle memory matters when you’re panicked or hurt.
Step 3 — Complete your Medical ID. Health app → Medical ID → Edit Add: blood type, allergies, current medications, and at least two emergency contacts with phone numbers. This information transmits automatically with your SOS message.
Step 4 — Enable Crash Detection awareness. On iPhone 14 and later, Crash Detection can automatically trigger Emergency SOS if it senses a severe impact — like a bad fall or vehicle accident. It’s on by default. No action needed, but good to know it’s running.
Step 5 — Check your satellite subscription status. If you bought your iPhone 14 more than two years ago, the free satellite SOS period may have ended. Check at: Settings → [Your Name] → Subscriptions As of April 2026, Apple has continued offering the service as part of newer iPhone models’ first two years. Verify your status before any remote trip.
Step 6 — Download offline maps. Satellite SOS tells rescuers where you are. Offline maps tell you where you are. In Google Maps: Profile icon → Offline Maps → Select an area → Download In Apple Maps: Search a region → scroll down → Download
Do this at home on Wi-Fi. A downloaded map of your hiking area costs nothing and works completely offline.
What Satellite SOS Cannot Do
Being clear about the limitations is just as important as knowing the capabilities.
- It cannot make voice calls. All communication is text-based and slow.
- It does not work indoors or underground. A clear sky view is non-negotiable.
- It is not instant. In the best conditions, expect 30–90 seconds. In bad conditions, several minutes — or failure.
- It cannot share your location continuously the way Find My does. It sends a one-time location ping.
- It does not replace a PLB. If you’re doing serious backcountry hiking, a dedicated Personal Locator Beacon (PLB) like a Garmin inReach is still the gold standard. PLBs use dedicated rescue frequencies and don’t depend on a phone battery.
For everyday emergencies — a twisted ankle on a trail, a car breakdown on a remote highway, a sudden medical episode while camping — iPhone satellite SOS is more than capable. For extreme wilderness situations, treat it as one layer of a larger safety system.
For a full guide on setting up emergency contacts and Medical ID before a trip, our post on How to Set Up Emergency Contacts on iPhone for Seniors (Medical ID & SOS Guide) covers every field in detail — the setup process is identical regardless of age.
Frequently Asked Questions
Q. Does iPhone satellite SOS work internationally? A. As of April 2026, Emergency SOS via Satellite is available in the US, Canada, Australia, most of Western Europe, Japan, and several other countries. It is not available everywhere. Check Apple’s official support page for the current country list before traveling internationally to remote areas.
Q. My iPhone 14 is over two years old. Do I need to pay for satellite SOS now? A. Apple has handled this on a rolling basis. Check your subscription status under Settings → [Your Name] → Subscriptions. Some users have been automatically enrolled in a paid tier; others have received extensions. Pricing has been approximately $99/year in the US if a subscription is required.
Q. Can Android phones do this? A. As of April 2026, no Android phone offers a fully integrated satellite emergency SOS system comparable to Apple’s implementation. Some Qualcomm Snapdragon 8 Gen 2 and later chips have satellite messaging hardware, but consumer-facing emergency satellite SOS on Android remains limited and carrier-dependent. It’s an area developing quickly.
Q. What if I accidentally trigger satellite SOS? A. There’s a clear cancel option throughout the activation process. If you accidentally complete a transmission, stay with the satellite link and inform the relay center immediately that it was accidental. Do not simply abandon the session — relay specialists will initiate a welfare check if they receive no response.
You Might Also Like
- How to Set Up Emergency Contacts on iPhone for Seniors (Medical ID & SOS Guide) — Complete walkthrough for Medical ID setup, the single most important thing to configure before any outdoor trip.
- How to Reduce Mobile Data Usage on Your Phone (10 Easy Ways) — Save data on the drive out and keep your battery healthy for when you need satellite SOS most.